BEEKEEPING 101: Summer 24-25
Ken Brown.
This new column covers beekeeping basics for beginner and intermediate beekeepers.
Just like the doctor’s oath, a primary consideration is to do no harm during an examination. However, there are times when some interventions are necessary for the long-term greater good, which includes hive checks.
FIRST, DO NO HARM
The most likely way that the queen will die is at the hand of the beekeeper. Every time you go in the hive you run the risk of squashing her or ’rolling’ her. A damaged queen will be killed by the colony; a young queen can be quite flighty and move quickly and be seen as an intruder and killed.
Frequency of Inspections
Regular hive checks are essential, but they do come at a cost. The delicate balance of the colony is upset every time you go in; pheromones disperse, the temperature of the brood nest gets disrupted, propolis and wax seals get broken, and bees die. A fair-weather inspection can set a hive back a day. After a cold and windy weather check it can take days for the hive to return to its pre-inspection state. A new beekeeper learns more quickly from frequent hive checks but try not to go in more often than weekly.
My recommended maximum frequency schedule:
- spring: Every nine days for swarm control
- summer: Every two to three weeks during nectar flow
- autumn/winter: Every six to eight weeks, weather permitting.
Purpose of Hive Checks
When inspecting hives, the most common priorities are checking for queenrightness (see sidebar); signs of pests and diseases; and confirming that there is space for egg-laying and honey storage. There are other things to check but these are a priority for colony health and honey production.
Always have a plan for your inspection—you do not need to inspect every frame every time. Focus on your goal but remain flexible to adapt as circumstances dictate; don’t get too distracted. Keeping detailed records is invaluable for tracking health and progress, even in years to come.
Tips for Inspecting
- Always start on the bottom box and work your way up; otherwise, smoke will drive bees down into the brood box.
- Begin on the outer frame of the side with the fewest bees—the queen is least likely to be here. If there is burr comb on the wall, then start on the second frame or you risk damaging the comb.
- Lever other frames away to increase the gap and lift the frame slowly until it’s clear of the box, as this helps to reduce the chance of ’rolling’ the queen. If the queen is not on this frame, place it in a frame holder or lean it against the side of the hive—this leaves a larger space for extracting frames.
- Inspect frame over the brood box; this increases the chance of the queen’s survival if you drop the frame.
- Replace each subsequent frame in the same order and orientation as it was before removal. Once in, slide it against the previous frame—this makes it easier to close up afterwards.
- Some beekeepers return the first frame into the last space (F1 goes to F10), thereby not having to move all the frames back to their original place (2,3,4……9,10,1). Reverse this next time and they’ll be back in the same order.
- Don’t stress about not seeing the queen every time—eggs will confirm that she was laying in the last few days.
- Familiarise yourself with the age of the brood: from this you can work out how long it has been since the queen laid an egg and confirm if she was still active after you were last there.
- Use the smoker sparingly when you’re opening the hive. A puff at the entrance and one under the hive mat, then occasional puffs if they get anxious. When closing the hive, use the smoker liberally to clear bees off box edges and the top of frames.
Before leaving the apiary do a final check to make sure that everything is as it should be. As you get more experienced your movements will become easier and more fluid—you’ll bump the frames less, squash fewer bees and you’ll notice that the bees are calmer and easier to handle.
Ken Brown is President of the Auckland Beekeepers’ Club and a Land Based Training Apiculture Tutor.

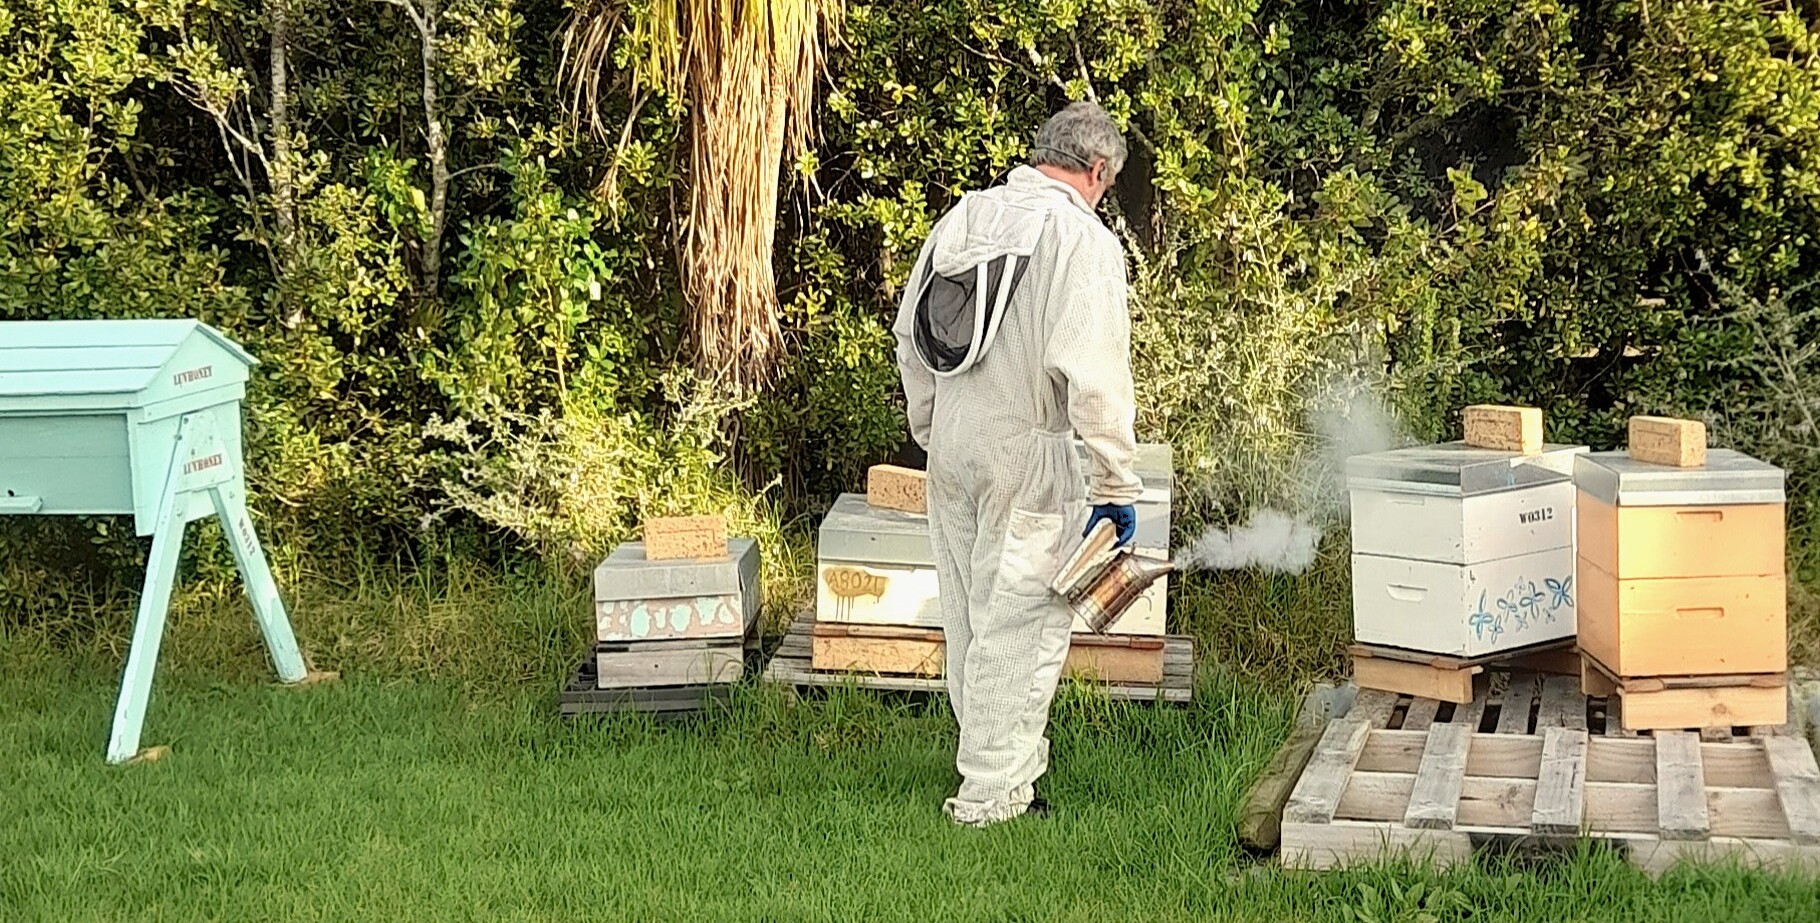
Ken Brown in his garden preparing to check his hives. Photos supplied.
A queenright hive
This is the ideal state for a honey bee colony (there are exceptions—queen rearing, brood breaks, splits, etc). It’s not just about having a queen but a queen that is capable of laying fertilised eggs, producing her queen mandibular pheromone and keeping the colony satisfied with her performance. A hive may have a drone-laying queen or there could be a healthy queen that is taking a brood break during the winter, so whether you see the queen in the hive or not doesn’t necessarily mean the hive is queenright.

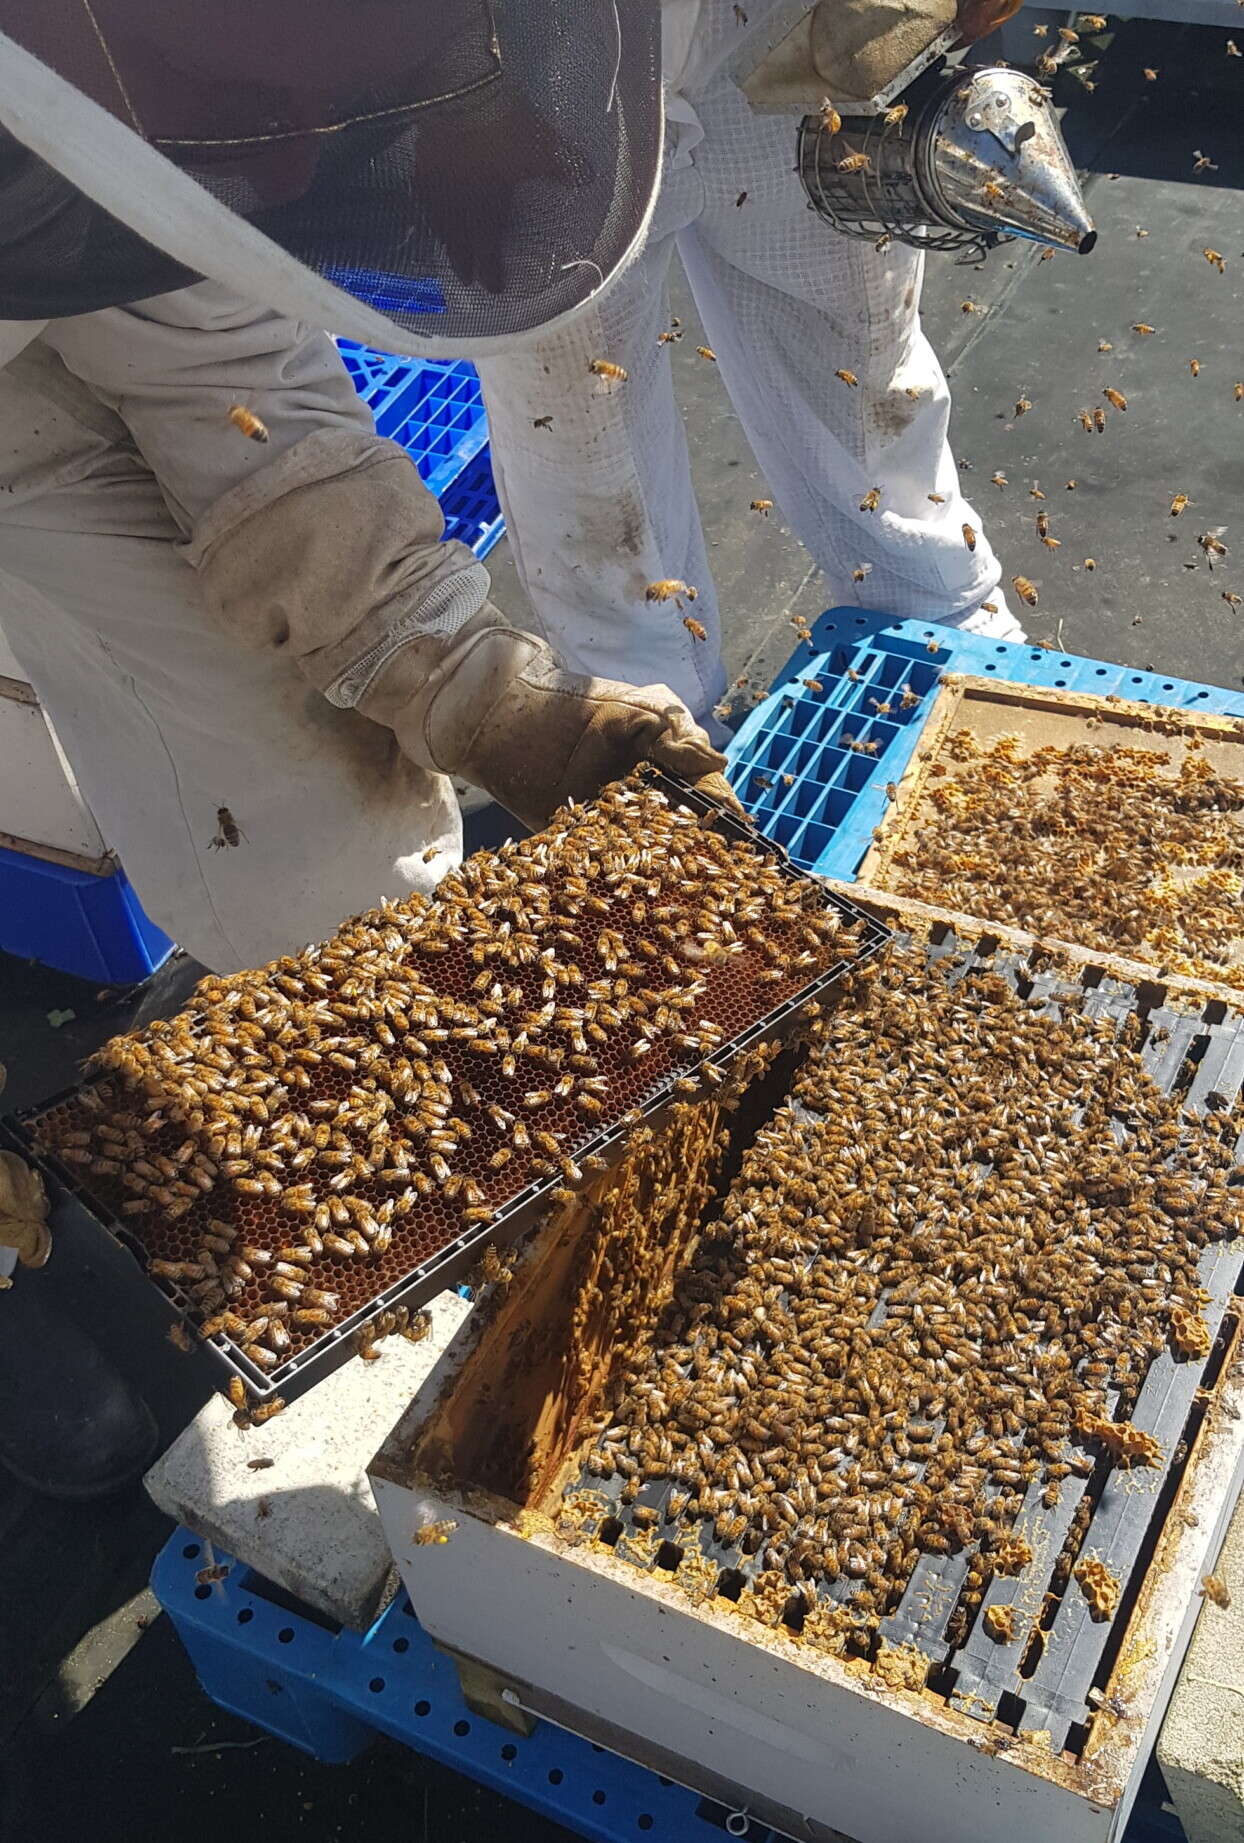
Bryan Lang checking bees on his rooftop apiary.
Resources—Practical Beekeeping in New Zealand
New beekeepers often ask what they should do first. Buying and reading Practical Beekeeping in New Zealand (5th Edition) by Andrew Matheson and Murray Reid is top of the list (followed by joining a bee club).
This book is considered the ‘bible’ amongst Kiwi beekeepers for its relevant, accurate and uncontroversial information. Most beekeepers have strongly held but differing opinions on all things beekeeping yet agree on the value of this book. Reading this book will give you a strong basis for further education both in and out of the apiary. It is a book that you will refer to for many years to come.
